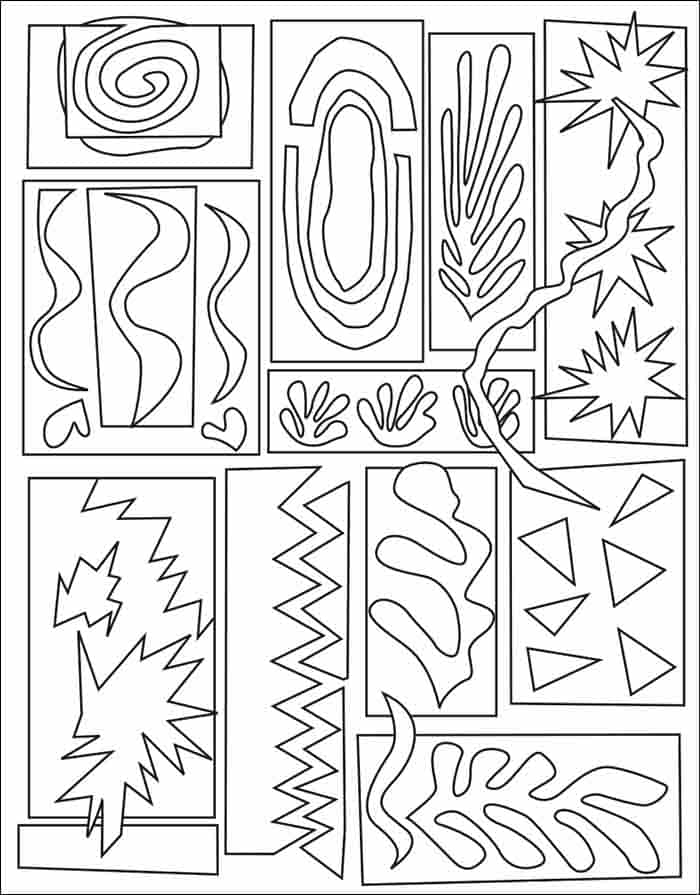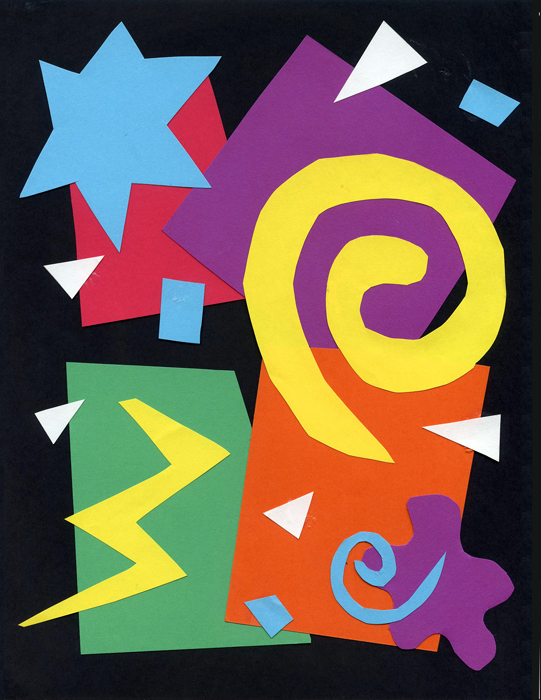
Below you’ll find an easy step-by-step tutorial for how to make a Matisse Art Project and Matisse Coloring Page. Layering lots of shapes will make it more interesting.
Matisse Collage Project
Matisse Art Project Tutorial
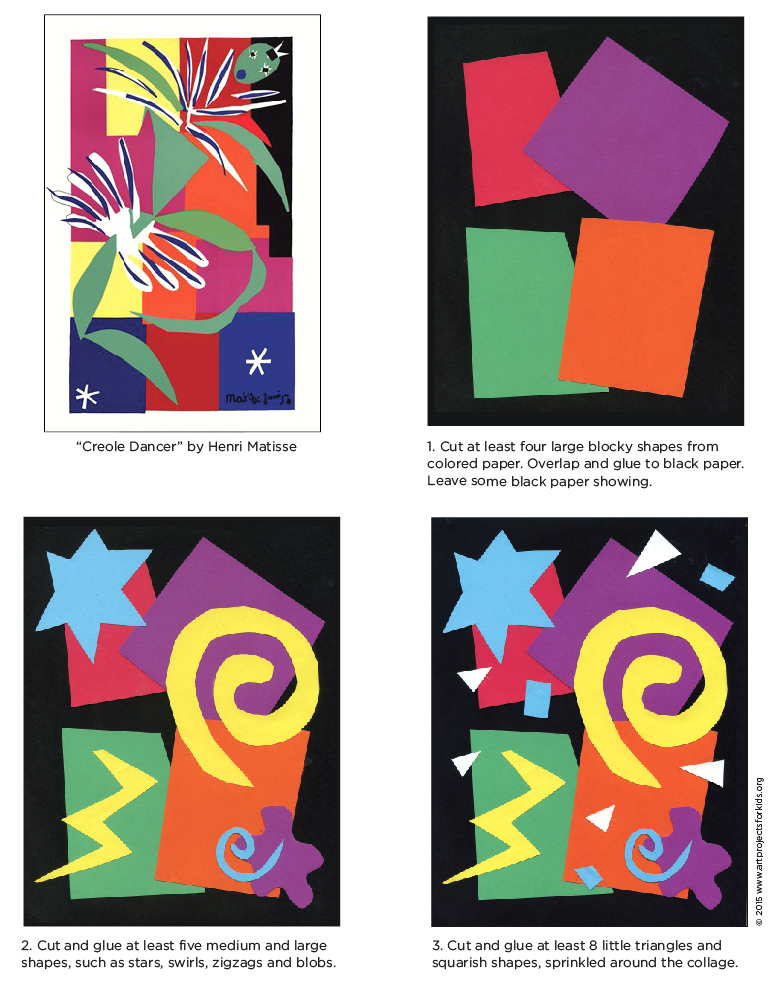
This Matisse art project was inspired by some of his work and focuses on the variety of his colorful organic shapes.
Collage projects have a lot to teach students about color and shapes and layering. First, some cutting skills will get a workout to make lots of shapes from colored paper. Then comes arranging, which is easy to experiment with, and finally gluing practice, to make sure all those pieces get attached really well.
When students are new to collage work, they will often spread things around in one layer and call it done. The instructions in this tutorial ask them to put more thought into layering, and adding more than they probably would on their own. The beauty of Matisse’s art is how the shapes are often jumbled on top of each other, and with some encouragement, students can easily get that look too.
Henri Matisse was a French artist, known for his use of color. After losing the ability to paint late in life, he explored and mastered the art of paper cut outs.
Materials
• Card stock paper, black
• Card stock paper, multi-colored
• Scissors
• Glue stick
Directions for a Matisse Art Project
Time needed: 1 hour
Step by Step directions for a Matisse Art Project
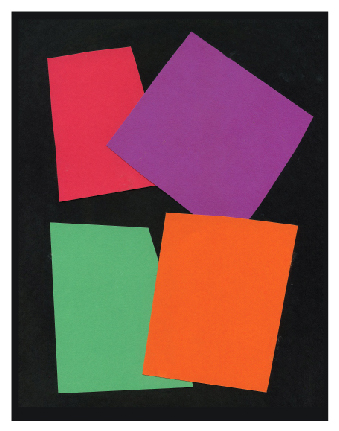
- Cut about 4 blocks shapes from colored paper, overlap and glue.

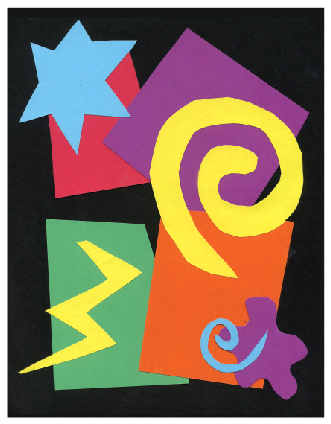
- Next, cut about 5 medium and large organic shapes and glue them on top.

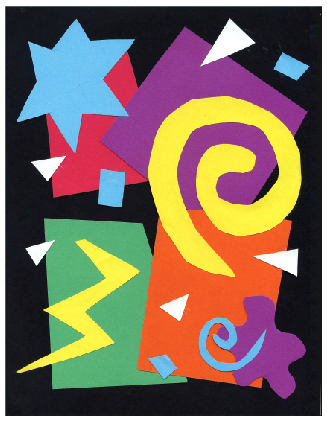
- Finally, cut about 8 small organic shapes and glue on top.

Matisse Coloring Page
