Note: This is the general process that I use. Feel free to take what you like from these instructions and ad lib the rest. Make it your own process! I’ll include some ideas for different formats and processes at the end as well as some resources that might be helpful if you want to read more.
- Do a status check & review
First, I sit down with my journal and reflect on the past year.
This initial step is my chance to consider where I am now, what is working in my life, and what isn’t. I like to look back over the past year, what has happened, what goals I have achieved, what lessons I have learned, and what I’m grateful for. This step really sets the stage for everything else.
- Set goals and prioritize
Next I sit down with paper and pen and think about my goals for the coming year.
This second step is my big brain dump and includes everything from the big goals and dreams (write a book, learn how to meditate, take the family on vacation), to the little wish list type of stuff (get a new vacuum cleaner), intentions (be more mindful, connect with my family better), and words for the year (clarity, joy, peace).
After I do this brain dump, I review my thoughts and notes and figure out what my priorities are and either circle them or create a new list.
What are the things I really, really want to happen above all else? Those are definitely going on my vision board. A lot of the other things will end up on my board, too, but I want to make sure the biggies get their place.
- Find images and words for the vision board
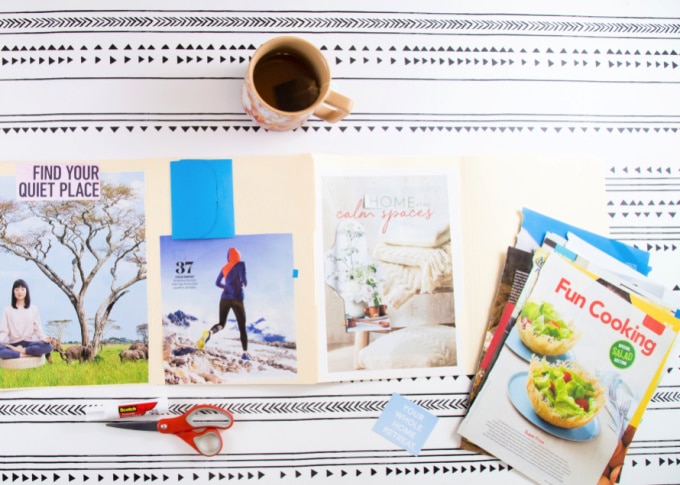
Now it’s time to search for and cut out images and words that embody your goals and/or just speak to you.
I love this step!
I go through a stack of magazines (generally from the free stack at the public library or bought for a quarter each from Goodwill). Then I clip everything I like—colors, words, interesting images. But, I am also on a hunt for images and words that relate to my goals.
In fact, I cut out way more than I need or will ultimately use!
Also, if there’s a goal or intention that I can’t find a good image for, I hop on the computer and do an image search. In fact, I rely on the internet more and more these days to find the best images to represent my goals. There’s so much available and it’s so easy to do an image search to find something quite specific.
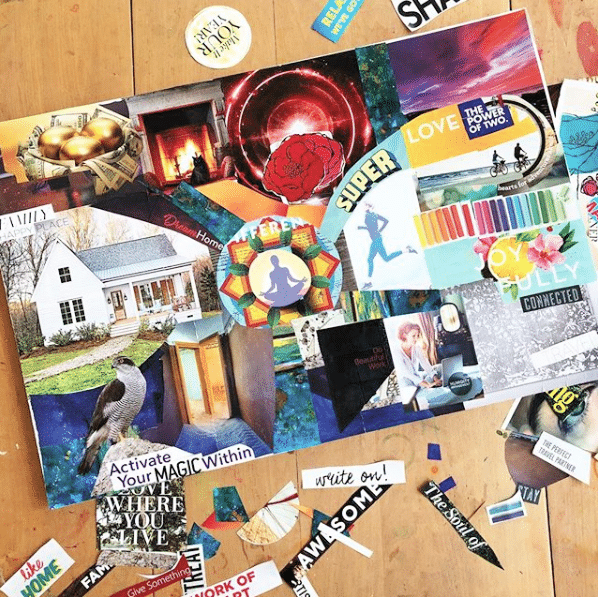
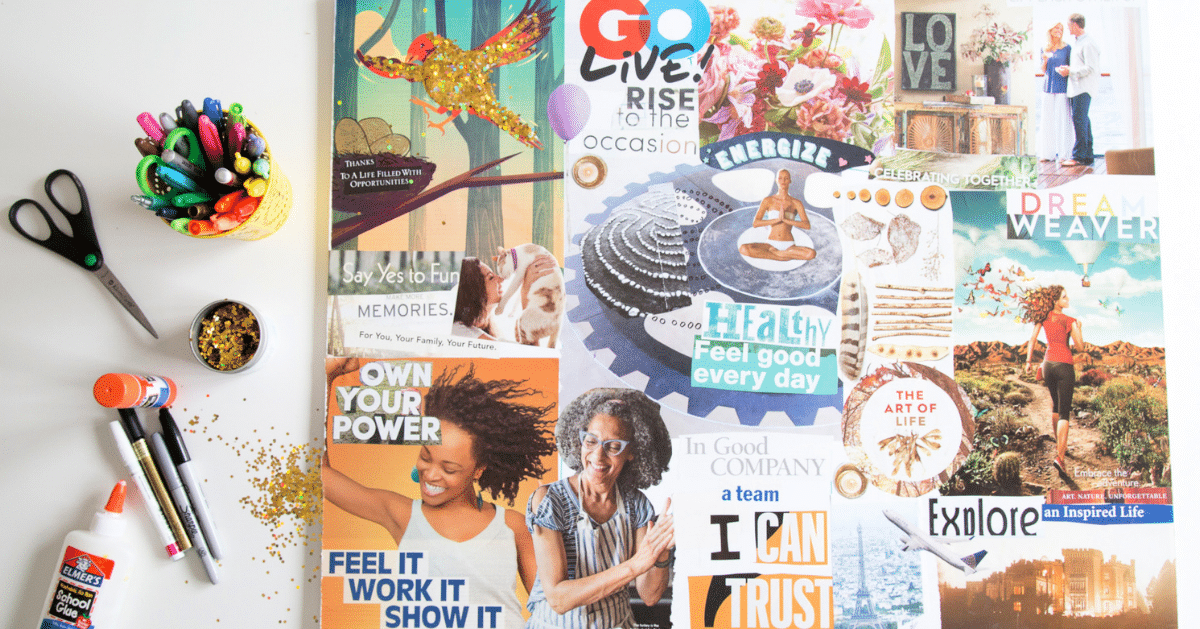
My finished goal boards include a mix of magazine images, pictures that I print from the internet, and words.
Since I often find so many images, I take some time to sort through and cull my stack. Ultimately, I’m looking for one or more images that capture the essence and feeling of each goal.
- Create a Basic Structure for the Vision Board
This step is optional, but I often do it and really like it.
Sometimes I divide the poster board into a nine section bagua (Feng Shui map of life areas) and sometimes I draw radiating lines from a central point and use the different triangular shapes as life area sections.
Again, it’s optional, but can provide a nice framework and some general life categories to keep your goals and vision board well rounded.
After dividing the poster board into life areas, I often write my goals and intentions for each area directly on the poster board. It will get covered over later with collage images so I don’t worry about how it looks or if I’m just thinking on paper and later change my mind about some of my priorities or whatever.
This part helps me round out my goals. For example, if my initial brain dump focused on finances and health, I am now reminded to consider relationships, skills, etc. In addition, this part helps me to focus when I’m assembling my vision board.
And I like how the layer of intention and goals are a part of the finished vision board, even if you can’t see this layer ultimately. It makes me feel like it’s adding another layer of intention to the magic of the vision board!
Also Read : Your Planning Partner, Step 1: Set Goals

- Assemble the Vision Board
Now it’s time to arrange your images and words on your poster board.
So, with your poster board in front of you, and your pile of images at hand, go through the images and decide what belongs on the poster board and place it roughly in the section it will go. Trim backgrounds away or crop images as you go if you like. Then continue through the pile of clippings.
Some images will go on the poster board, some will go in a “later” pile to be used in a future collage, and some will just be recycled.
Once you have all of your goals and dreams represented on the board, stand back and take a look at it. How does it look?
If you’re happy with the board, proceed to the next step. Otherwise continue to arrange, add images or words, and trim around others until you’re satisfied.

- Glue Everything Together
Once you’re satisfied with the arrangement, begin to glue everything down. Working with one image or word at a time, turn it over, apply a layer of glue with a glue stick, then stick it to the poster board. Rub over it with your hands to smooth it out as much as possible.
Tip: Save scrap paper and cut up magazines to use as gluing surfaces.

- Embellish!
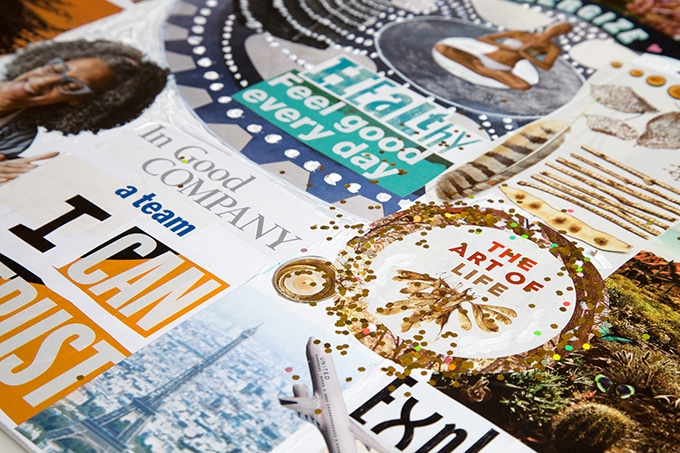
This is another optional step but is a creative way to finish up your vision board. Add your own words, doodles, or sketches over and around the collaged images with Sharpie markers or glue on fun collage items such as sequins, glitter, lace, ribbon, or whatever else you desire.

- Display Your Board
Once your vision board is complete, hang it on the wall where you will see it regularly. Think–your office, bedroom, or living room. It’s important to create a vision board, but equally important to see it regularly.
You can frame it first, or simply tape it to the wall.
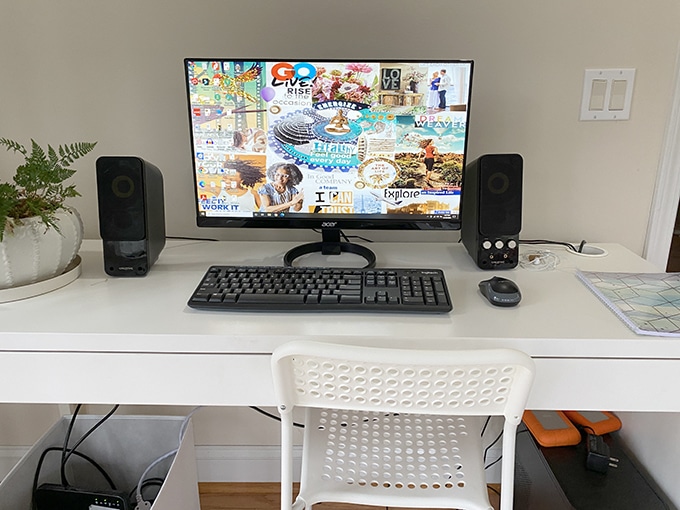
Also, take a photo of the vision board. You might use this digital version as wallpaper on your computer or phone.
- Use Your Vision Board as a Road Map
Making the vision board is just the beginning! Now it’s time to use it as a guide and road map into your new future.
There are so many ways you can do this such as:
– Create an action plan for your goals (and then take action!)
– Review your board as you create it whether it’s your to-do list for the day or week
– Journal about the goals depicted on the board
– Practice visioning exercises (closing your eyes and imagining the achievement of your goal)
– Get support in the areas you know you would benefit from it.

