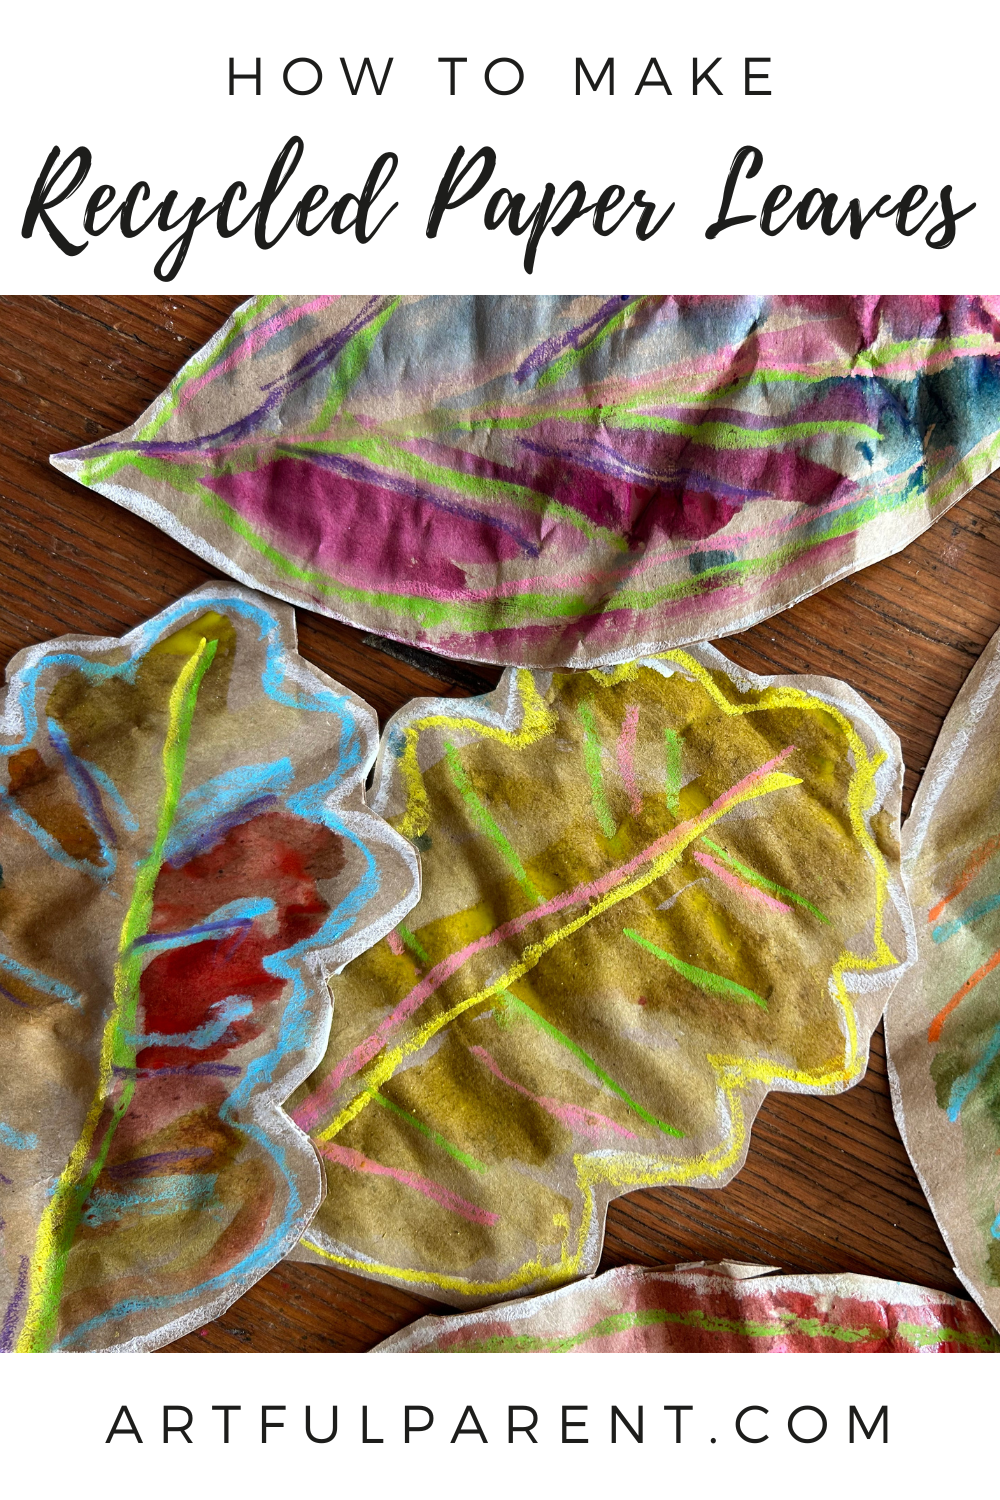
Learn how to use recycled paper bags and packing materials to create beautiful paper leaves! These colorful autumnal leaves will last all season.
As Autumn leaves burst into color, it’s the perfect time to get cozy and crafty at home. We’ve done so many fun leaf crafts over the years, but we love how this project can be done without any actual leaves at all!
Our recycled paper leaves capture the vibrant beauty of this fleeting season, while also being a versatile recycling project that works for kids of all ages and skill levels. With just a few supplies—paper bags, oil pastels, and watercolor paint—you can transform everyday materials into beautiful, long-lasting autumn decorations.
How to Make Recycled Paper Leaves
MATERIALS
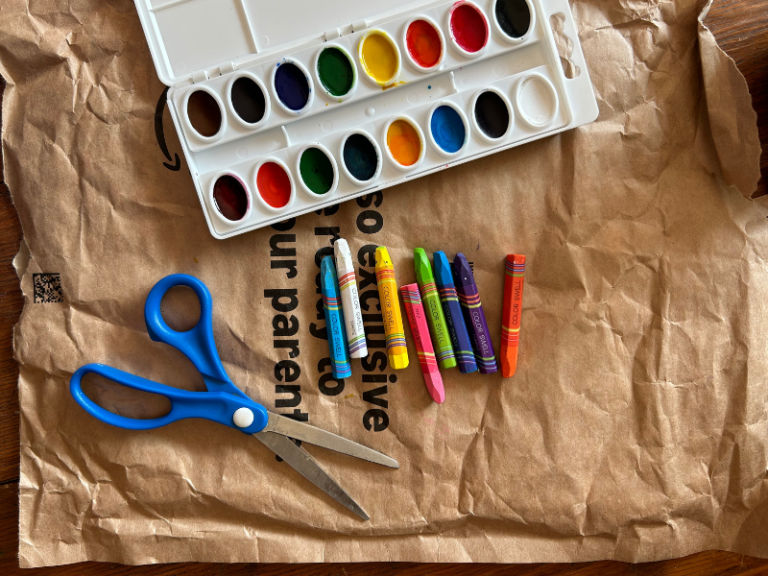
- Paper grocery or shipping bags
- Oil pastels (you can use crayons too!)
- Watercolor paints
- Paintbrush
- Cup of water
- Scissors
- Pencil
- Leaf template (optional)
INSTRUCTIONS
- Prepare your paper bags
Start by flattening out your paper grocery or shipping bags. Cut off any handles or seams so that you have large flat sheets to work with.
- Draw and cut out leaf shapes
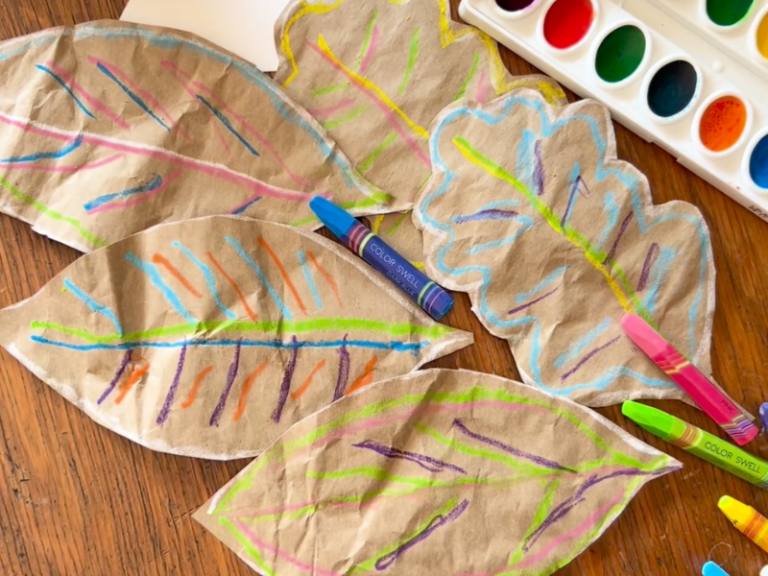
Next, use a pencil to lightly draw leaf shapes directly onto the paper. You can freehand the leaves or use a template like this one. Maple, oak, and birch leaves are all iconic fall shapes, but feel free to get creative!
Once you’ve drawn your leaves, carefully cut them out with scissors.
- Add texture and design with oil pastels
Now for the fun part! Use oil pastels to add veins, patterns, or abstract designs to your leaves.
You can use colors that mimic nature, like deep reds, oranges, and yellows, or you can go for a more whimsical approach with bright blues, purples, and pinks.

- Paint with watercolors
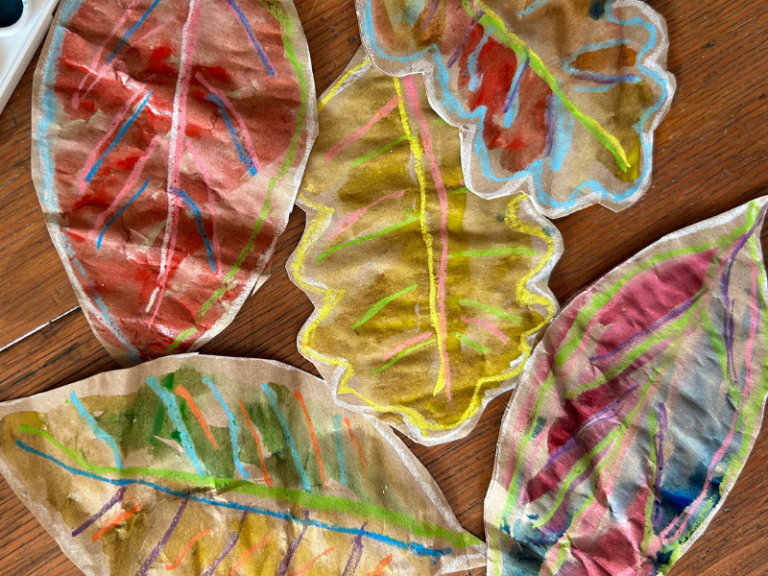
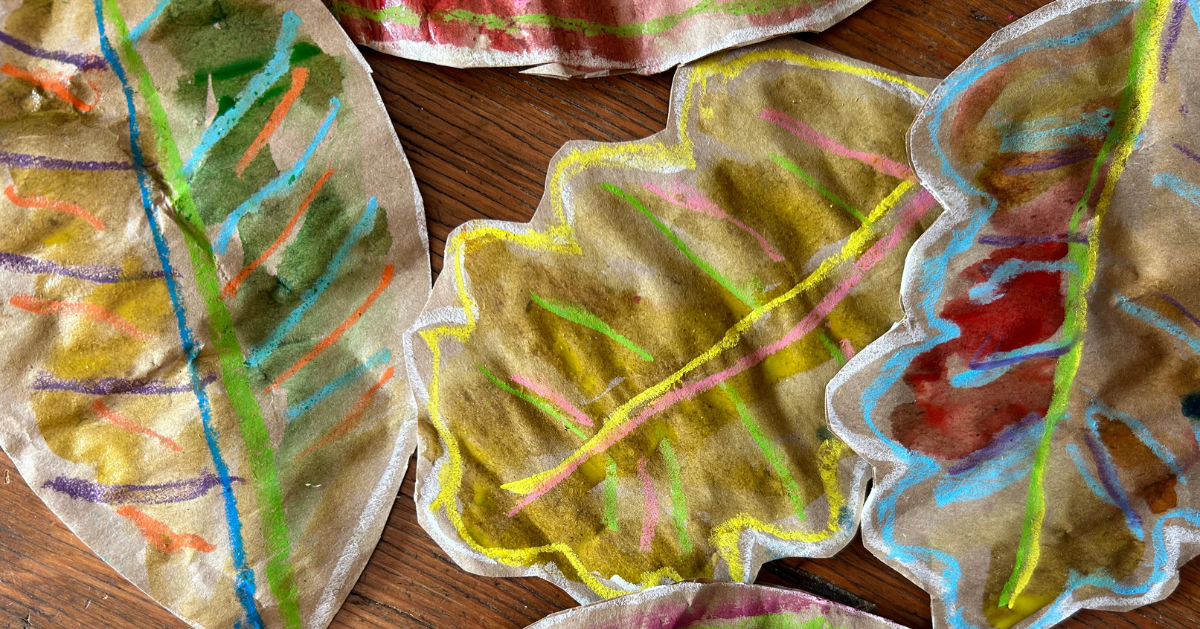
Once your oil pastel designs are complete, it’s time to bring your leaves to life with watercolor paint. As you paint, watch how the waxy texture of the pastels “resists” the color, creating a beautiful effect.
You can experiment with blending different colors together to create beautiful, translucent layers.
Want to learn more about watercolor painting? Check out our Watercolor Workshop Master Class for Kids!
- Let your leaves dry
After painting, lay your leaves flat to dry. The watercolor will dry lighter, revealing the vibrant contrast between the pastels and the paint. Depending on how much water you used, drying time may vary.

Once your leaves are completely dry, they’re ready to be displayed! You can use them as table decorations, string them together to create a garland, or even glue them to a wreath base for a stunning autumn door decoration. The possibilities are endless, and each leaf will be a unique work of art.
Tips for a Successful Project:
- Use Thick Paper Bags: Thicker paper bags work best for this project as they hold up better to paint. We especially loved the wrinkled surface of paper shipping bags from amazon.
- Mix and Match Techniques: Feel free to experiment with different oil pastel and watercolor techniques to achieve a variety of effects. You can even sprinkle salt onto wet watercolor for a fun textured look.
- Get the Whole Family Involved: This really is a perfect craft for all ages! Kids will love the tactile experience of drawing with oil pastels and watching the watercolors blend. Make your time together even more fun by reading a stack of beautiful fall picture books while crafting!
This fall, bring the outdoors in with these festive painted paper leaves. Not only is this craft an excellent way to celebrate the season, but it’s also a fun way to repurpose materials you already have at home. Happy crafting!
More Fall Fun for Kids
- Simple Fall Garland Ideas
- 30 Creative Fall Activities for Kids
- 10 Fall Sensory Bins for Kids
- 10 Autumn Crafts with Leaves
- 12 Fall Crafts for Kids
- Autumn Creativity Pack
Pin It for Later
The post How to Make Recycled Paper Leaves appeared first on The Artful Parent.

